44 how to print binder spine labels
Binder and Album Spine Labels with Cricut - Sengerson Designing Spine Labels with Cricut Design Space Below are a few tips to make sure that your album and binder spine making goes flawless. Use Bold and Simple Lines You'll want to use bold and simple lines. More intricate designs should be done with a pen. If you are wanting to cut larger words, make sure you don't use intricate and fancy fonts. DIY Binder Covers & Spine Labels - Caught by Design Rotate the label by 90 degrees clockwise and align with the top of the page. Print on white cardstock and trim with paper trimmer, scissors, or X-acto knife. If you are making multiple binder covers, place several spine labels on one page before printing. Slip the cover and spine label into the plastic pockets of your binder and you are done!
Binder Spine Label Teaching Resources | Teachers Pay Teachers Ombre Binder Spine Labels with or without Frames in 5 different sizes ranging from 1" to 3" If you've purchased my Ombre Binder Covers, this product will go perfectly to match the spine labels of your binder. ... folders, organizers, and for student names in pocket charts (lunch, helpers, etc). I print on full-sheet Avery labels, cardstock, and ...

How to print binder spine labels
How to Create Binder Inserts in Microsoft Word | Techwalla Step 1 Go to the Microsoft Templates website (see Resources). Choose "Word" under Browse by Product. Type "Binder" in the Search box and press "Enter." Step 2 Click on a template to view the details. Click "Download" to select the template you want to use. Step 3 Click "Accept," if a Microsoft Service Agreement appears. Binder Spine Templates - 40+ Free Docs (Download & Customize) How to Insert into Binder Spine Insert Template Three different steps to insert the binder templates in your file. Know these steps and follow them to insert at ease. Step 1 Once your label is ready you can print and cut them. Make sure you print them on a sturdy paper so that inserting will happen without causing damage to the label. How To Make A Binder Spine In Word - klubzaodrasle.info Set the from/to values to reflect the number of blank labels on each sheet (i.e. Click on print and select the from option. Source: pray.gelorailmu.com. Create your own binder spine with this 2 inch binder spine insert template for 3 ring binders. Click on print and select the from option.
How to print binder spine labels. Create Binder Spine Inserts with Avery Design & Print Go to Avery Design & Print. Click on Create Project By Product Type to get started. Under Product Category, select Binders, then under Product Number, select the 00000 - Binder Spine inserts for the width of your binders. Then click Next. Step 2: Choose a Template You'll find a variety of options to choose from. Create Spine Inserts for Presentation Binders using Templates Under Binders, click on Binder Spine Inserts to narrow your search. Then, under Template Types, click on "Browse Avery Designs" Step 3: Choose a Template You'll find a variety of predesigned templates to choose from. Click on the Binder Spine Insert link for the template you want to use. Select the right size binder for your Binder Spine Insert. 40 Binder Spine Label Templates in Word Format - TemplateArchive If you'd like to make your binder spine label templates easily, you can make them in two ways. Here we will discuss steps in how to edit ready-made templates to suit your binder needs: Use Built-In Templates in Microsoft Word Open the software and open the search function. Type in the word "binder" and press enter. How to Create and Print Labels in Word - How-To Geek In the Envelopes and Labels window, click the "Options" button at the bottom. In the Label Options window that opens, select an appropriate style from the "Product Number" list. In this example, we'll use the "30 Per Page" option. Click "OK" when you've made your selection. Back in the Envelopes and Labels window, click the ...
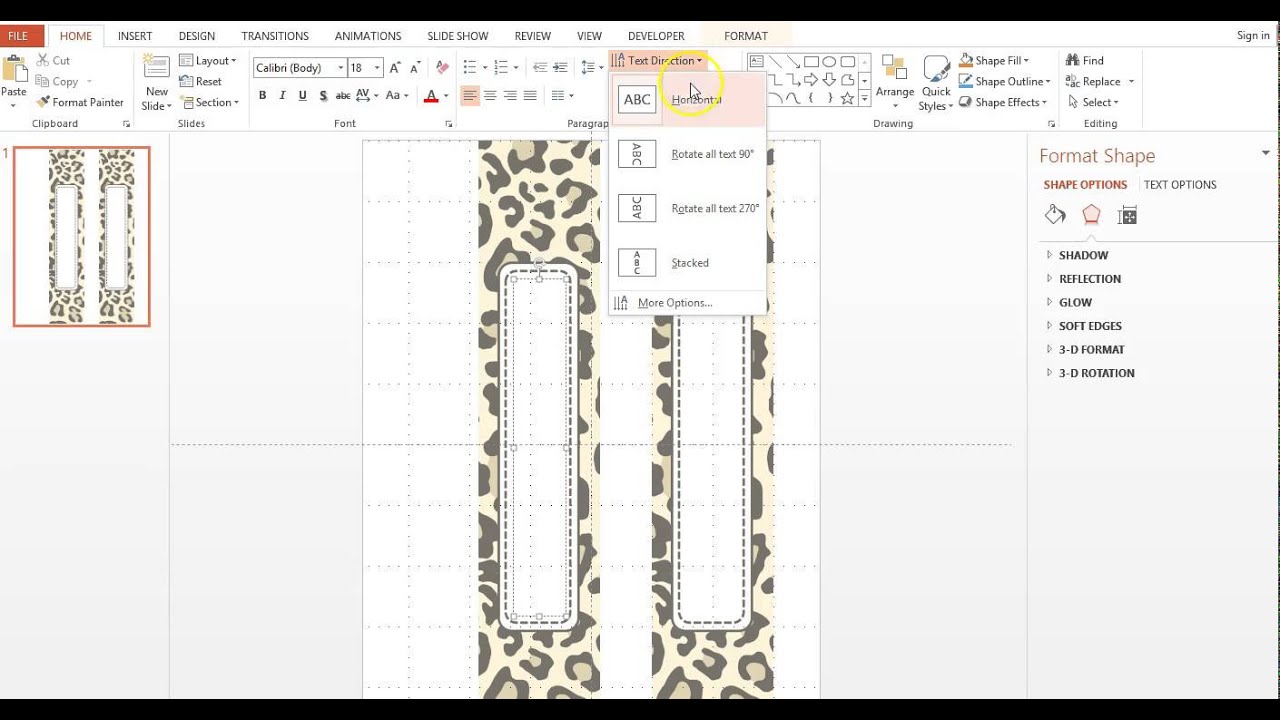
Editable Binder Covers & Spines - Free Printable Download Free Editable Binder Covers & Spines Supplies: binder with clear view cover (can be any size: 1″, 1.5″ and 2″, etc.); card stock (can use regular printer paper, but the print is bolder and much brighter on the card stock); download (get it at the bottom of the post) dividers (optional-if you need to organize the inside of your binder); printer How To Make A Binder Spine In Word - npvltd.info 40 Binder Spine Label Templates in Word Format TemplateArchive from templatearchive.com. Click on print and select the from option. This is an accessible template. When selected, click the shape format tab and make sure the dimensions (on the right side) are 11″ high and 0.9″ wide. FREE Binder Spine Template | Customize then Print - 101 Planners If you have binder labels that's great. However, if you don't have them then print on plain printer paper and apply with paper glue. You can also print on sticker paper and cut out. To do this, print on a blank sheet of sticker paper and cut around the binder spines. If you are going to make binder spine inserts then don't use sticker paper. How To Make A Binder Spine In Word - combo.northminster.info Click on print and select the from option. When selected, click the shape format tab and make sure the dimensions (on the right side) are 11″ high and 0.9″ wide. Source: pray.gelorailmu.com. Open a blank microsoft word document 2. Create spine labels using microsoft word 1. Source: nl.pinterest.com. Click on print and select the from option.
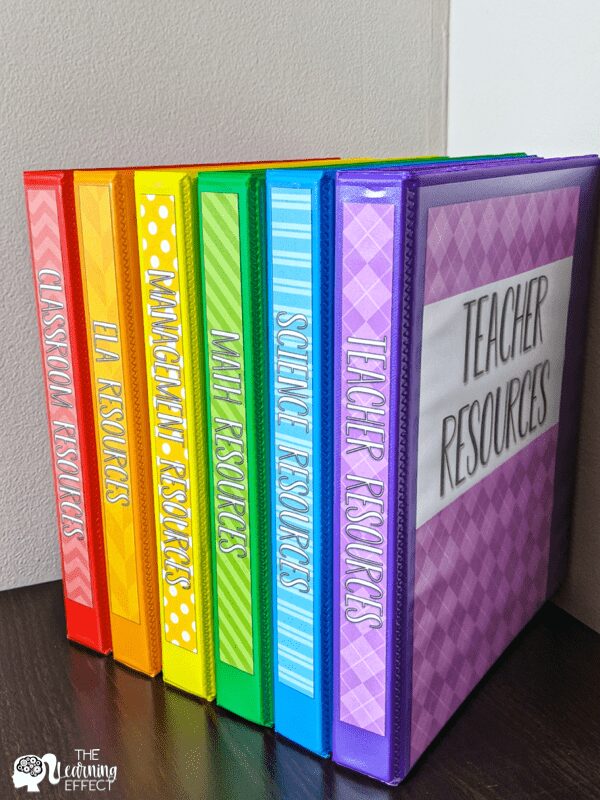
3 Ways to Insert a Label Into a Binder Spine - wikiHow Putting the Label Into the Spine Download Article 1 Turn the binder inside out and upright. Open up your binder and bend back the front and back covers until they are completely in the other direction. Then stand the binder up so that the spine is vertical. Subject Binder Spine Labels - Free Printable - Teach Junkie Print these 8 spine inserts. Cut apart the ones that you'll need, or write in your own text on the 8 blank labels. There is a label for reading, grammar, writing, science, history, spelling, art and language. Slide the insert into the spine of your teaching binder that is at least 1.5″ or larger. Binder Labels - Blank or Custom Printed | OnlineLabels® Print your own labels using a laser or inkjet printer. View All Custom Binder Labels Professional labels printed and delivered to your door. View All All Blank Labels Custom Labels Filters 8" x 2" OL1159 5 Labels Per Sheet 8.5" x 11" Sheets Choose Options 7.5" x 1.5" OL5450 7 Labels Per Sheet 8.5" x 11" Sheets Choose Options 8.5" x 2" OL1985 08 Free Printable Binder Spine Label Templates - TemplateHub After selecting a particular design and inserting required content on the label, i.e. name of the customer, duration, i.e. from 2010 to 2015, or name of the department, it's time to print the label and see the end results. Keep in mind that after you get the print, the size of the label might not be suitable for the binder.
EDITABLE Binder Covers and Spines | Editable binder covers ...
How do I print a vertical binder spine in Word? How do I print 21 Labels per sheet in Word? Click on PRINT and select the FROM option. Set the From/To values to reflect the number of blank labels on each sheet (i.e. if you have 21 blank labels per sheet, test print addresses 1-21). You should also review your print settings. Make sure you select a "Labels" or "Heavy Paper" print setting.
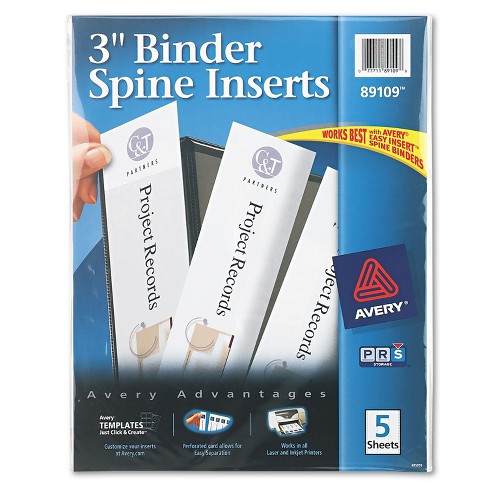
Avery Binder Spine Inserts 3" Spine Width 3 Inserts/Sheet 5 Sheets/Pack 89109
50 Amazing Binder Spine Label Template, Benefits, Tips & Steps to ... Binder spine labels can be printed on paper or put into an electronic database. This is a tutorial on creating a template for binder spine labels with Microsoft word. Open Microsoft Word and press the Home button to see where you are. Right-click on the page and select "New Blank Document."
Template for Avery 89105 Binder Spine Inserts for 1-1/2 ...
Create Spine Labels Using Word - SlideShare Create Spine Labels Using Microsoft Word 1. Open a blank Microsoft Word document 2. Go to "Table" in the menu bar and choose "Insert > Table" 3. Set rows and columns equal to the number of rows and columns on your sheet o blank labels (ex. 7 columns x 14 rows) 4. Go to "Format > Document" and set margins: a. Top and bottom margins ...
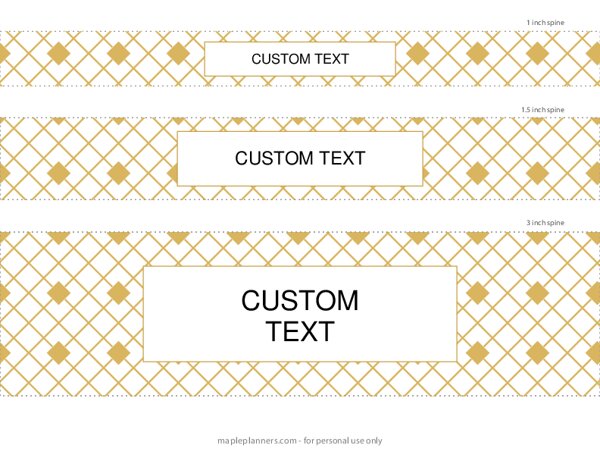
Free Editable Binder Spine Templates - Gold Abstract
How to Create Binder Inserts in Microsoft Word - YouTube See more:

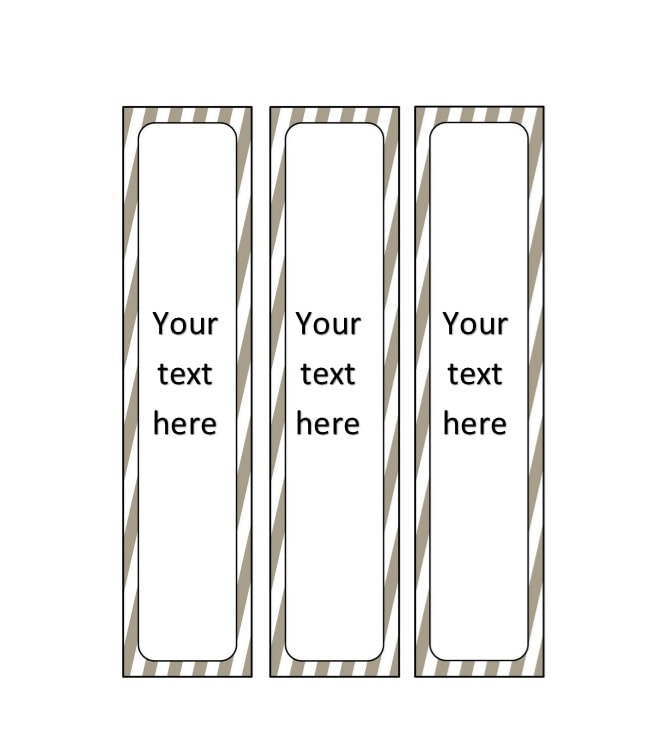
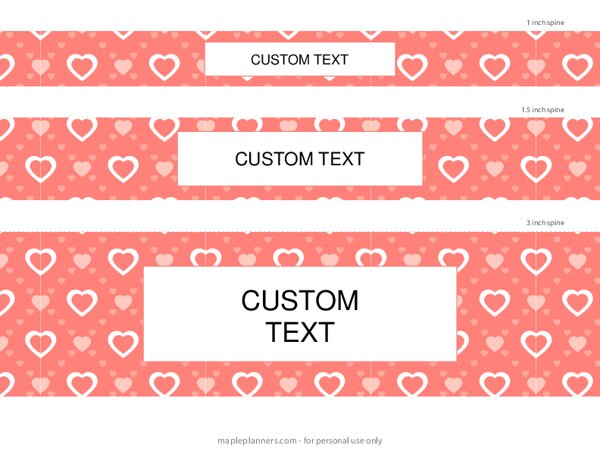
FREE Binder Spine Template | Customize then Print
Printing Spine Labels - Readerware Now select File->Print->Spine Labels. Printing Spine Labels Select and setup your printer - You can print spine labels on any ink jet or laser printer using label sheets. Readerware also supports Dymo LabelWriter label printers which take label rolls. You can select the paper orientation. portrait or landscape. Note when using a Dymo label ...

A Step by Step Guide to Create Binder Covers and Spines with ...
Templates & Instructions - Bindertek Instructional Sheets: Click here for Binder Spine Label Instructions. Click here for Exhibit Tag Template Instructions. Click here for Stock Certificate and Ledger Template Instructions. Click here for Table of Contents Instructions.

How To Make A Binder Spine In Word -
How To Make A Binder Spine In Word - klubzaodrasle.info Set the from/to values to reflect the number of blank labels on each sheet (i.e. Click on print and select the from option. Source: pray.gelorailmu.com. Create your own binder spine with this 2 inch binder spine insert template for 3 ring binders. Click on print and select the from option.
A Step by Step Guide to Create Binder Covers and Spines with ...
Binder Spine Templates - 40+ Free Docs (Download & Customize) How to Insert into Binder Spine Insert Template Three different steps to insert the binder templates in your file. Know these steps and follow them to insert at ease. Step 1 Once your label is ready you can print and cut them. Make sure you print them on a sturdy paper so that inserting will happen without causing damage to the label.
1/2" Binder Spine Labels for Pokemon Base to Sun & Moon : r ...
How to Create Binder Inserts in Microsoft Word | Techwalla Step 1 Go to the Microsoft Templates website (see Resources). Choose "Word" under Browse by Product. Type "Binder" in the Search box and press "Enter." Step 2 Click on a template to view the details. Click "Download" to select the template you want to use. Step 3 Click "Accept," if a Microsoft Service Agreement appears.

40 Binder Spine Label Templates in Word Format - TemplateArchive
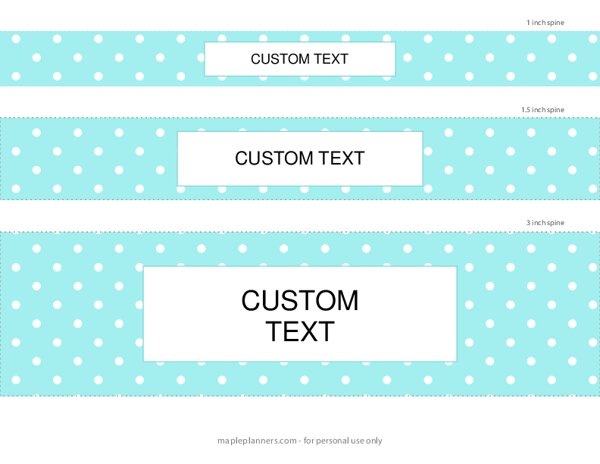
Free Editable Binder Spine Templates - Cyan Polka Dots Background

A free spine label for you - CZ Design
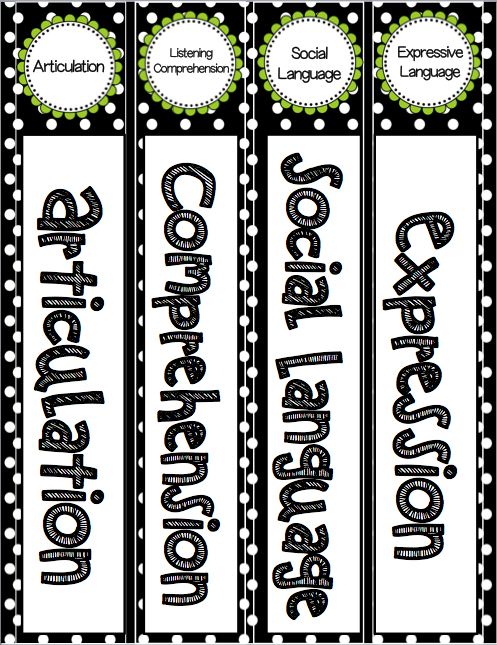
Editable Speech and Language Binder Labels - Speech 2U

FREE 3+ Sample Binder Spine Templates in PDF | PSD

Binder Spine Templates - 40+ Free Docs (Download & Customize ...

Printable 1x3 Labels, Spine Inserts for Self-Adhesive Binder Card Sleeves, School and Office Supplies (30 Sheets, 660 Pieces Total)
Editing Spines Labels for binders
FREE Binder Spine Template | Customize then Print

Custom Binder Spine Inserts

10 Best Word Free Printable Binder Covers - printablee.com

3 Ways to Insert a Label Into a Binder Spine - wikiHow
Make Your Own Cute Binders (with Printable Binder Covers ...
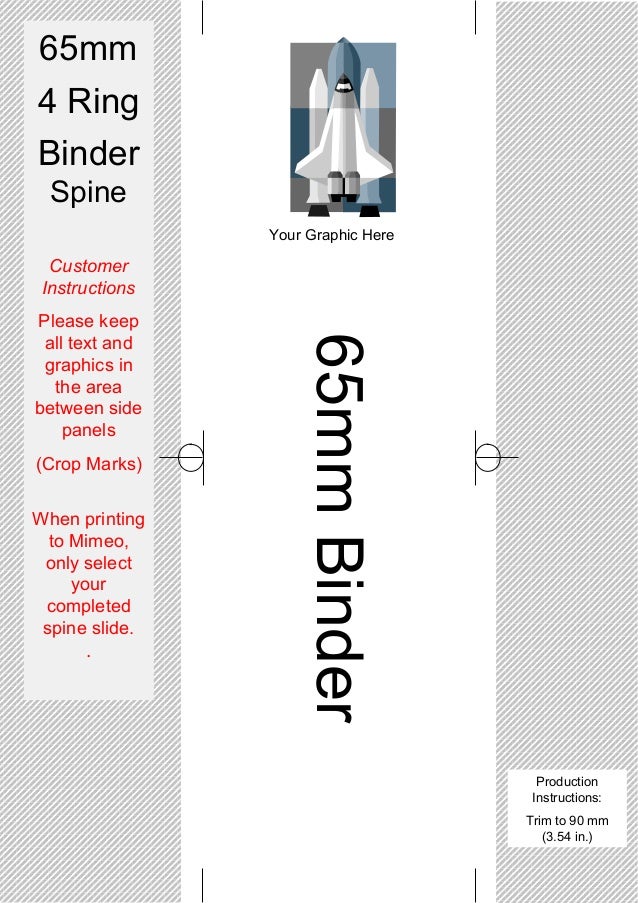
Spine Templates for your 4 Ring Binders

The Top How To Print Vertical Binder Spine Labels
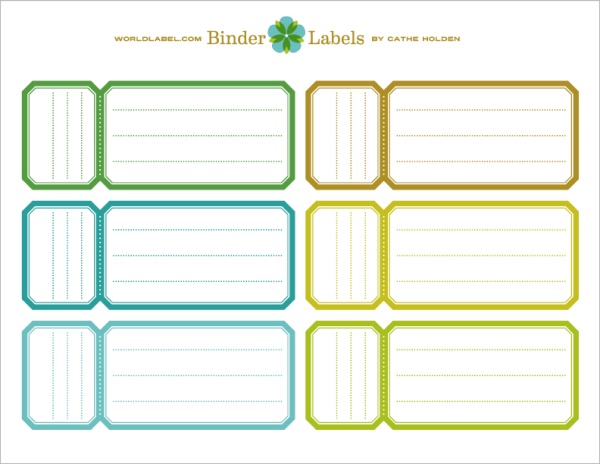
Binder Labels in a vintage theme by Cathe Holden | Free ...
World Traveler Binder Spines {UPRINT}

3 Ways to Insert a Label Into a Binder Spine - wikiHow

Binder Labels with Cricut
Binder Labels - Blank or Custom Printed | OnlineLabels®

FREE Spine Labels for Binders: Getting Organized! - Mrs ...
Binder Spine Labels for Pokemon Base through Guardians Rising ...
free printable binder labels - Google Search | Binder spine ...

Avery Binder Spine Inserts, 2" Spine Width, White, 4 Inserts ...

Schoolgirl Style - Industrial Chic (EDITABLE) Binder Covers ...
Binder Cover Templates - Customize & Download PDF

Binder Cover Templates Teacher Binder Covers Printable - Etsy
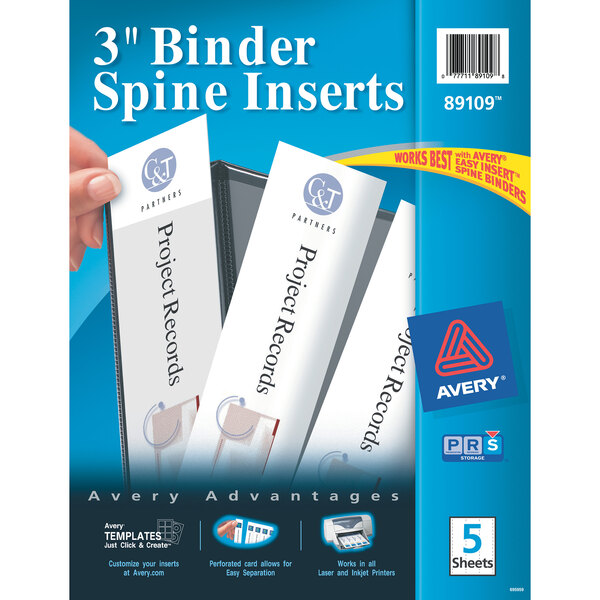
Avery® 89109 White 3" Binder Spine Insert - 15/Pack
40 Binder Spine Label Templates in Word Format - TemplateArchive

Free Fall Binder Cover Printables -

FREE Binder Spine Template | Customize then Print

Insertable Spine Labels for 2" Barrister Binder
Editable Binder Spine Templates - Red Hearts Background

DIY Binder Covers & Spine Labels - Caught by Design

How to Create a Finance Binder – Money Management & Budgeting ...
Post a Comment for "44 how to print binder spine labels"